Welcome to our step by step guide for being able to create sub-pages including class pages within your Primarysite Website.
In this guide we will cover:
- How to add and create a sub-page, what is this?
- How to add plain text sub-pages
- How to add icon sub-pages
- What can sub-pages be used for?
This document will help you achieve these things in an easy step by step process. If you have any questions, please get in touch.
Getting started
Firstly, you will need to log into your website. This may be done by either clicking a padlock icon or it could be that the words ‘log in’ are situated on the homepage, either in a corner or at the bottom of the page.
A log in screen will then appear, for your details
As default only, either a super user or anyone under the teacher role type will have the permission to edit the pages within the website as default. We can however amend the permissions for editing for other role types should you find you cannot do this. Please give us a call to do this.
To Add and Create a Sub-Page (what is this?)
Creating sub-pages (these are pages within pages) is an ideal way to categorise related information in one place and saves the need for extending an already busy drop-down navigation menu.
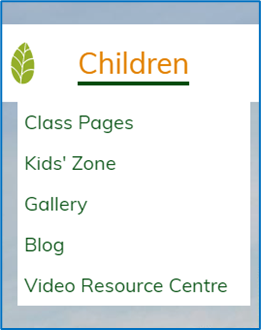
You will mainly see sub-pages set up for class pages. An example of this would be under your ‘children’ navigation menu you could have a page called ‘class pages’ which when click upon could list your individual class names as sub-pages.
To create your own sub-pages, you will firstly need to navigate to the page where you wish to add these. For example – ‘class pages’.
You will then need to click the blue ‘edit this page’ button in the top left of the white bar.

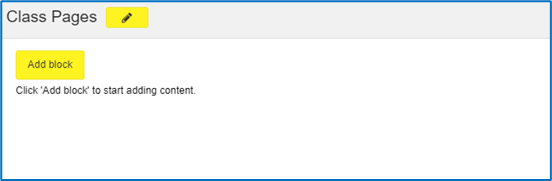
Next click the yellow ‘add block’ button and select the sub-pages button.

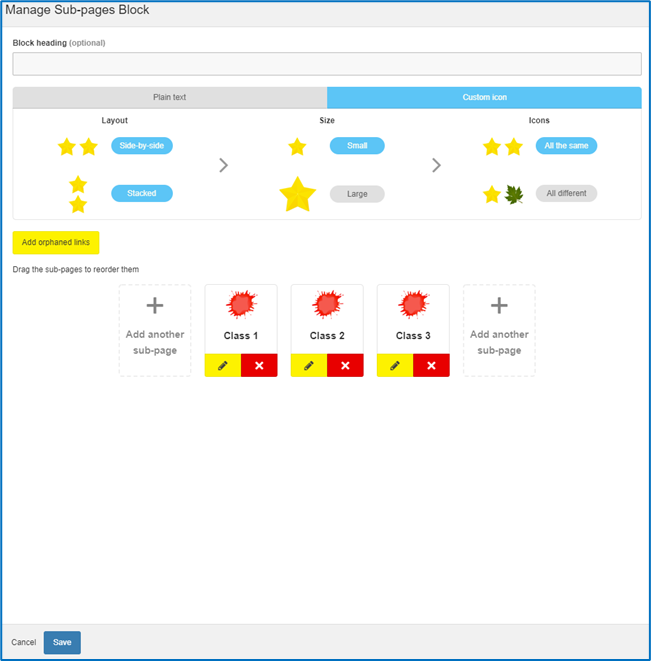
Once you have clicked ‘add block’, you will see the below ‘manage sub-pages block’ area appear.
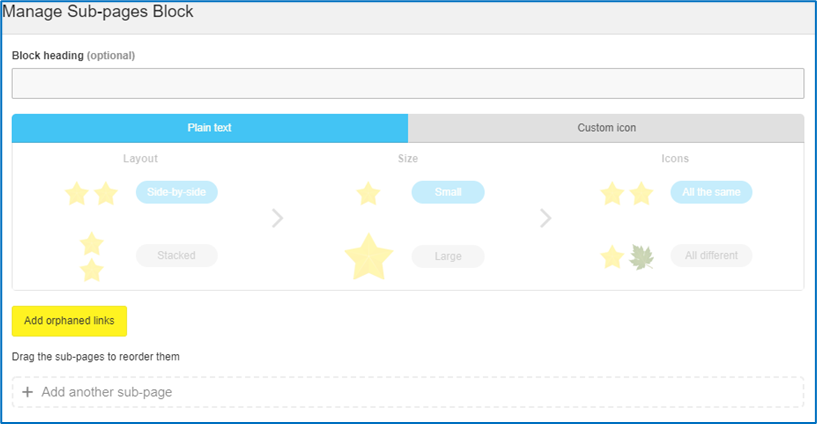
You will see a free text field titled ‘Block heading’ this is mainly used to add an overall title. This is optional and will appear as a sub-heading on the page you are adding a sub-page/s to. Next you will have the option to add your sub-page/s as either a plain text sub-page or as a custom icon sub-page.
Adding a Plain Text Sub-Page
A plain text sub-page will display the name of the sub-page/s only.
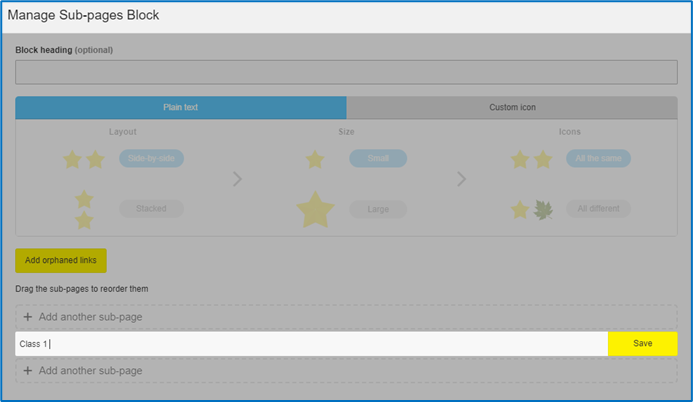
To add a plain text sub-page, select the plain text bar which will highlight blue and then click on the faint grey ‘add another sub-page’ button. This will then display a free text field for you to add the name of your sub-page. Once you have given your sub-page a title the yellow save button will appear for you to save the change. You have the option to add further sub-pages by selecting the faint grey ‘add another sub-page’ button above or below the newly created sub-page.
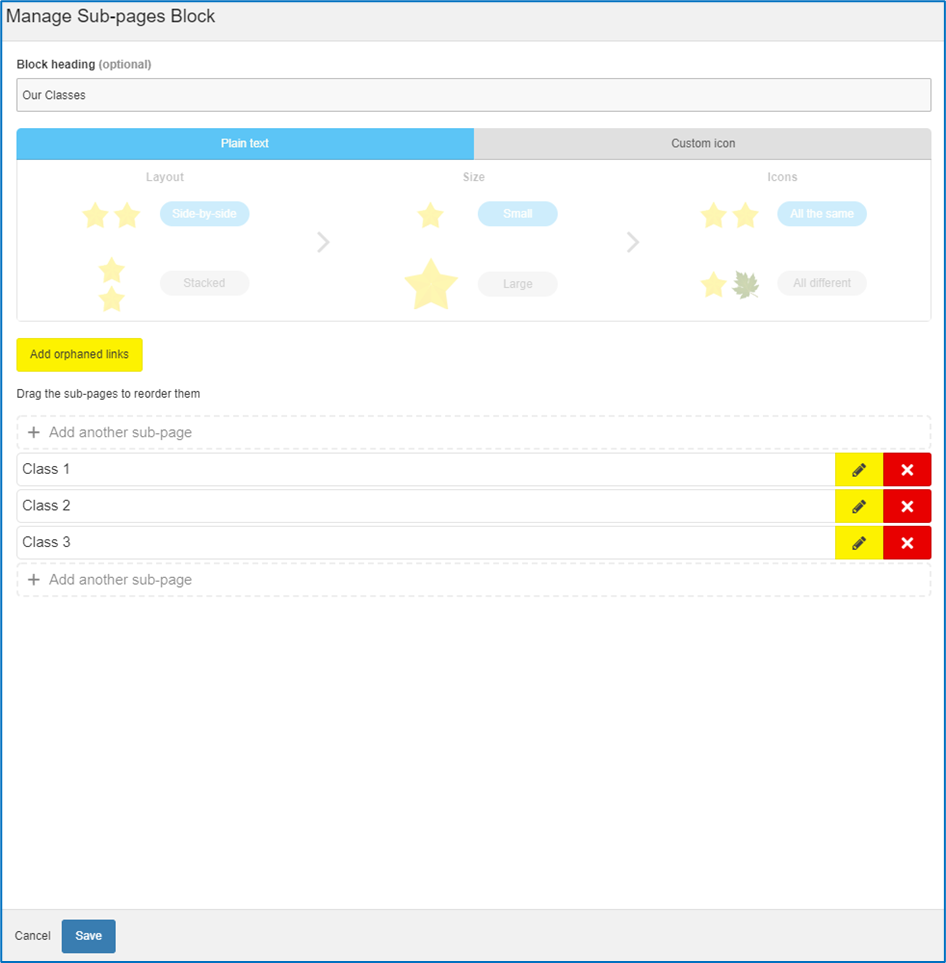
Once the yellow save button has been selected, the sub-page created will appear with a yellow pencil button and red ‘x’ button to the right of it in the manage sub-page block area. Selecting the yellow pencil button will allow you to edit the name of the sub-page and the red ‘x’ button will allow you to delete the sub-page.
Selecting the blue save button at the bottom of the manage sub-page block area will then post the new sub-page/s onto the original class pages page under your ‘children’ navigation, as seen in the below screen shot. Each plain text sub-page will appear in a list underneath any block heading you may have added.

Adding a Custom Icon Sub-Page
A custom icon sub-page will display any chosen icon from your pre-populated icon bank with the name of the sub-page displayed underneath.
If you would like to use an icon instead of a plain text, you will need to click the ‘custom icon’ tab which will highlight blue whilst on the manage sub-pages block.
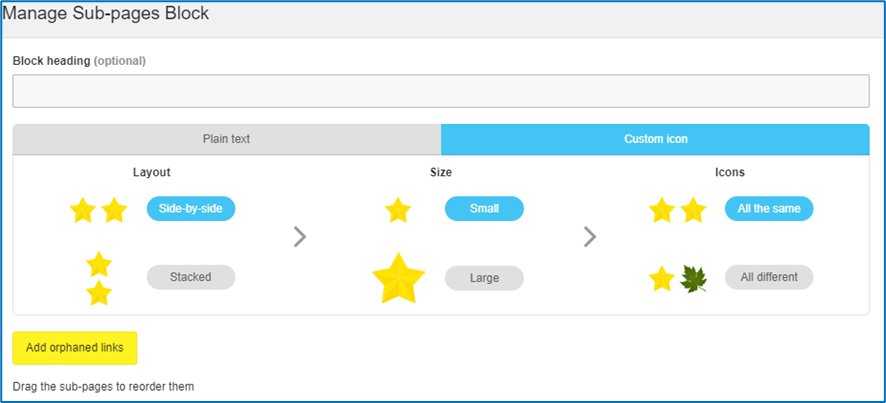
You will then have different options to select depending on the layout, size and icons you would like to use. Once you have selected your choices, these will again highlight in blue.
To then add your sub-page you will need to click the faint grey ‘add another sub-page button’.

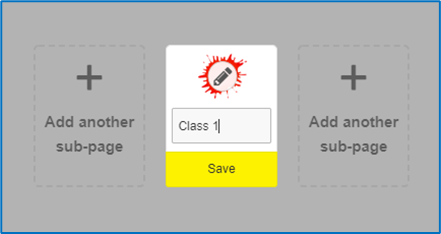
You will then see a star icon appear with the editable pencil button over it.
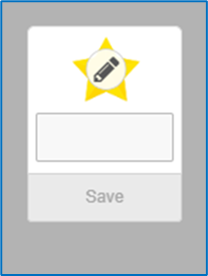
If you then select the pencil button you will be taken to your custom icon bank, pre-populated with icons for you to use for your sub-pages.
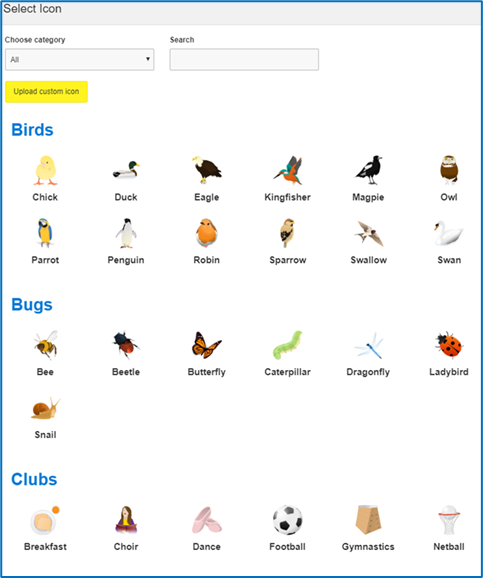
Please note we can create bespoke icons for your icon bank should you not find something you are looking for. Please give us a call to discuss this in more detail.
Once you have selected your icon, you will then need to title the sub-page using the free text field under the icon, then select the yellow save button. Should you wish to add further sub-pages you will just need to select the faint grey ‘add another sub-page’ button on either side of your newly created sub-page.
Once the yellow save button has been selected, the sub-page created will appear with a yellow pencil button and red ‘x’ button to the right of it in the manage sub-page block area. Selecting the yellow pencil button will allow you to edit the name of the sub-page and the red ‘x’ button will allow you to delete the sub-page.
Selecting the blue save button at the bottom of the manage sub-page block area will then post the new sub-page/s onto the original class pages page under your ‘children’ navigation, as seen in the below screen shot. Each custom icon sub-page will appear either side by side or in a list view dependent on the option selected when being created. If a block heading was added this will show above the sub-pages.

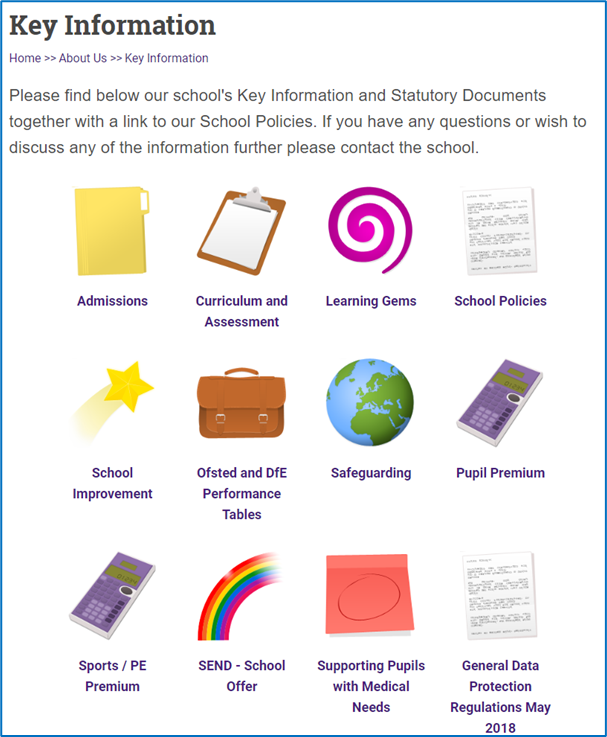
What Else Can Sub-Pages be used for?
Sub-pages can be used on any page of your website (except for within your Newsletters, Latest News and Calendar page). The below example shows how a school have used sub-pages to layout their key information page.